Air dry clay ideas for beginners, and how to seal them
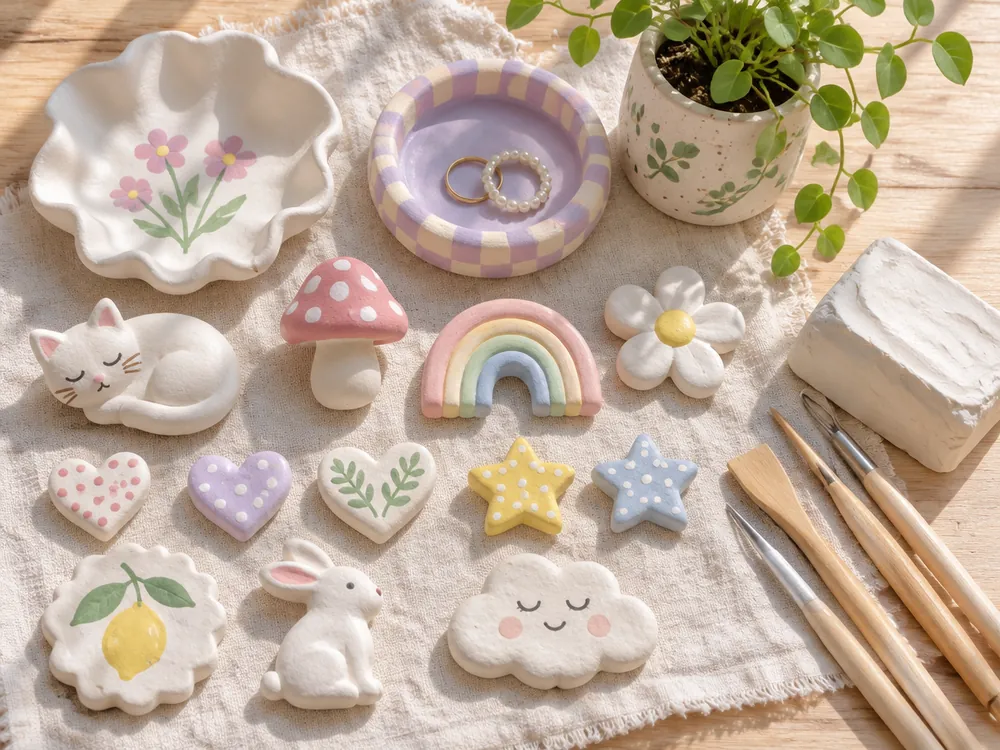
Easy air dry clay ideas include trinket and ring dishes, pinch pots, Christmas ornaments, gift tags, fridge magnets, mini animals, beads and name plaques. Keep pieces about 5mm to 1cm thick, smooth small cracks with a damp finger as you go, let them dry fully, then paint with acrylics and seal with varnish. Sealed pieces shrug off dust and splashes but are not waterproof.
What can you make with air dry clay?
Air dry clay suits small pieces that are flat, thin-walled or hollow. Thick solid lumps take days to dry and tend to crack, so the easiest makes start as a rolled slab, a pinch pot or a few small balls and sausages joined together. Here are 20 ideas, roughly in order of how easy they are.
| Idea | How it is made | First project? |
|---|---|---|
| Trinket or ring dish | A rolled slab pressed into a small bowl to take its curve | Yes |
| Ring cone | A cone of clay on a flat round base | Yes |
| Pinch pot | A ball of clay opened with your thumb and pinched thin | Yes |
| Christmas tree ornaments | Shapes cut from a slab, with a hole for ribbon made before drying | Yes |
| Gift tags | Thin rectangles with letters pressed in and a hole at the top | Yes |
| Fridge magnets | Small shapes, with a magnet glued to the back once dry | Yes |
| Keyring charms | A small shape with a hole for the ring | Yes |
| Place card or photo holder | A small block with a slit cut in the top | Yes |
| Name or door plaque | A slab with letters pressed or carved in | Yes |
| Beads | Rolled balls pierced with a cocktail stick while soft | Yes |
| Bunting or garland | Flat shapes with two holes each, threaded on string | Yes |
| Handprint or pawprint keepsake | A hand or paw pressed into a smooth slab | Yes |
| Pen pot | A slab wrapped round a card tube or jar, then joined | Medium |
| Bud vase for dried flowers | A slab or coils built round a small bottle | Medium |
| Mini animals | Balls and sausages joined with slip | Medium |
| Earrings | Thin cut shapes with holes made before drying | Medium |
| Wall hanging | Rows of shapes tied to a stick | Medium |
| Phone stand | A thick wedge with a groove cut along it | Medium |
| Mini fake food | Shaped and painted, for a dolls' house or a display | Medium |
| Cosplay and prop details | Foam clay pressed onto a base and shaped | Medium |
Which air dry clay should you use?
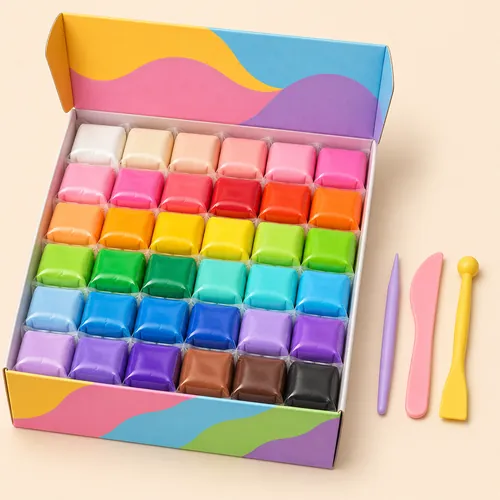
There are three main kinds, and they suit different makes. Coloured modelling clay comes in small packs of ready-coloured clay, so a magnet or a mini animal needs no painting. The iFergoo 24-colour set is about 360g of lightweight clay in 15g bags, and the maker says once dry it can be sanded, drilled and carved. The Bridokit 36-colour set keeps each colour in a re-sealable bag, which helps stop leftovers drying out.
Plain modelling clay in one colour is what you want for dishes, pots and plaques, because you need a decent amount to roll a slab. The Scola terracotta clay comes as a single 12.5kg pack reinforced with nylon fibre, and the maker says it can be coated with PVA glue and decorated with acrylic paints. Foam clay is light and soft. The BOHS white foam clay is a 100g pack that the maker says sticks to styrofoam, glass and metal, and can be mixed into other clay to lighten a colour.
Clay to start with
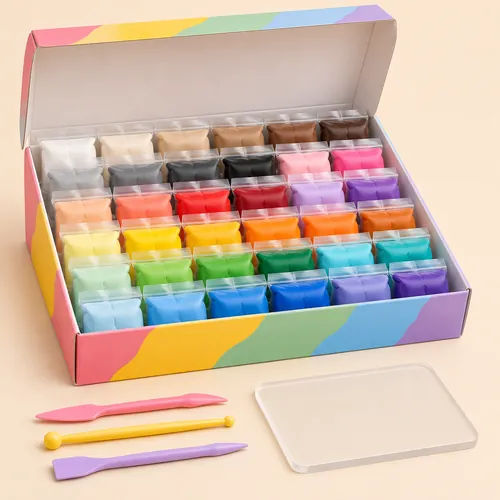
Air dry clay set, 36 colours
£13.99
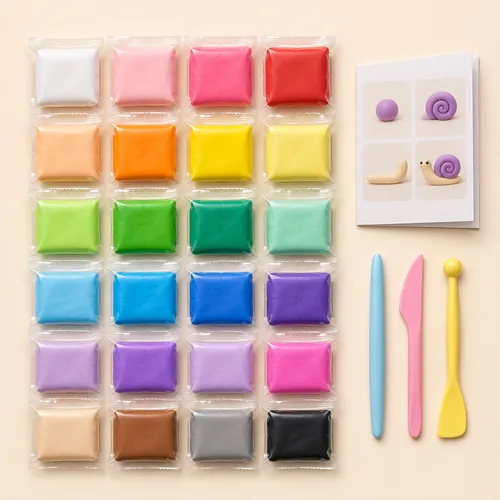
Air dry clay set, 24 colours
£12.99
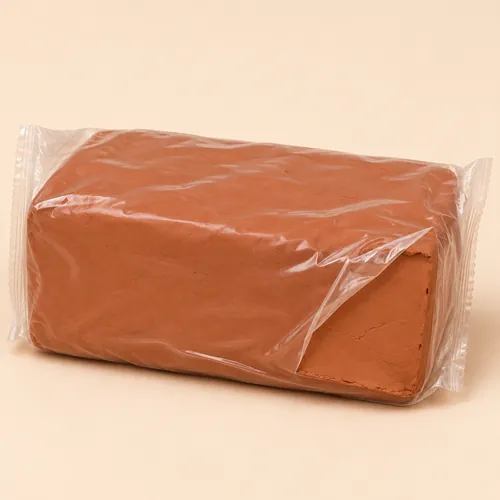
Air dry clay, 12.5kg, terracotta brown
£22.99
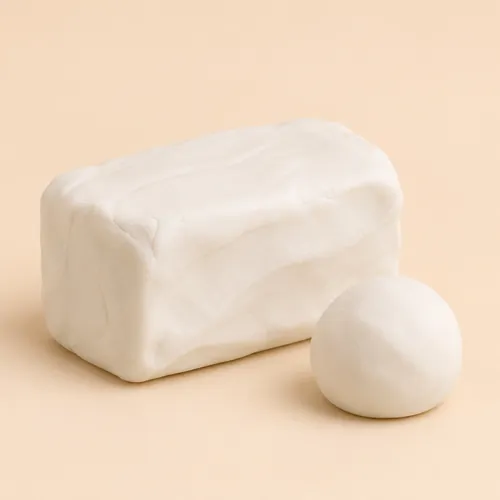
White foam clay, 100 g
£8.99
How to make an air dry clay trinket dish
A trinket dish is the classic first make: one slab, no joins, and it shows you how the clay behaves as it dries.
- Set upCover the table with a mat or a sheet of baking paper. Have a small pot of water and a damp cloth ready, and keep the clay you are not using wrapped so it stays soft.
- Roll a slabKnead a piece of clay until it is smooth, then roll it to about 5mm thick. Two rulers or flat sticks either side of the rolling pin keep the thickness even.
- Cut the shapeCut round a jar lid or a paper template with a clay tool. Circles, hearts and leaves all work.
- Smooth the edgeDip a fingertip in water and run it round the cut edge. Use only a little water: too much turns the surface to sludge and can cause cracks later.
- Shape itLay the slab in a shallow bowl lined with cling film so it takes the curve, or pinch the edge up gently all the way round. Press in a pattern now if you want one.
- Dry it slowlyLeave it somewhere cool and airy, away from radiators and sunny windows. Once the top looks dry, turn it over so the underside dries too. The instructions on your pack give the drying time.
- Sand and finishWhen it is completely dry, smooth any rough edges with fine sandpaper, wipe off the dust, then paint and seal it as below.
Why does air dry clay crack, and how do you fix it?
Clay shrinks a little as the water leaves it. Cracks appear when one part shrinks faster than another. Almost every crack comes from one of these:
- Drying too fast. Next to a radiator or in sun, the outside dries before the inside. Dry at room temperature, and loosely cover bigger pieces with a plastic bag for the first few hours.
- Too thick. Anything much over 1cm thick cracks more easily and takes far longer to dry. Build bigger shapes round a ball of scrunched kitchen foil, or hollow them out from underneath.
- Joins that split. Score both surfaces with criss-cross lines, add a little slip (clay mashed with water into a paste), press together and smooth over the seam.
- Clay drying as you work. Keep spare clay wrapped and dampen your fingers now and then. Clay that has started to crack while you knead it needs a few drops of water worked in.
- Too much water. Wet, sticky clay shrinks more as it dries. Use damp fingers, not a soaked sponge.
- Hairline cracks after drying. Push a little slip or fresh clay into the crack with a damp finger, let it dry, then sand it smooth.
How do you seal air dry clay?
Dry clay stays porous, and water softens it again. A sealer protects the paint and helps the piece resist dust, handling and the odd splash. It does not make air dry clay waterproof.
- Make sure it is fully dryThe piece should be an even pale colour all over and feel room temperature. If it feels cool against your cheek or wrist, there is still water inside, so give it longer.
- Sand and dustSmooth any rough spots with fine sandpaper and brush the dust off with a dry brush.
- PaintAcrylic paint covers air dry clay well. Two thin coats look smoother than one thick one. Let each coat dry before the next.
- Pick a sealerA water-based acrylic varnish in matt, satin or gloss gives the most protection. Watered-down PVA glue gives a lighter seal and a slight sheen. Read the label on whichever you use.
- Apply thin coatsBrush on a thin coat, let it dry for the time on the label, then add a second. Seal the underside too, or damp can creep in from below.
- Let it cureLeave the finished piece alone for the time the varnish label gives before you handle it much.
If you only buy one tool, make it a set with a few shaping and carving tips. The 39 piece clay tool kit has engraving tools, modelling tools, dotting pens and carving tools in a box, and most have a different tip at each end.
To shape, paint and finish
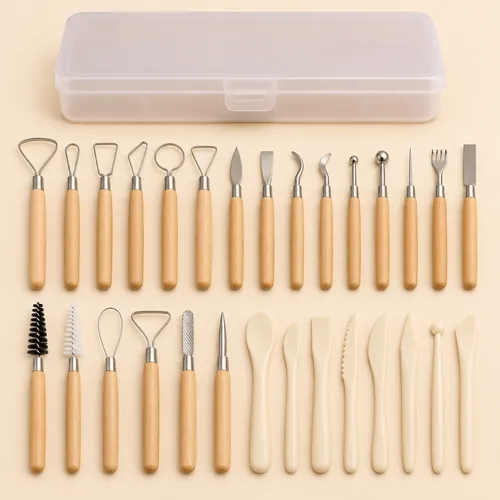
39 piece clay tool kit with storage box
£8.99
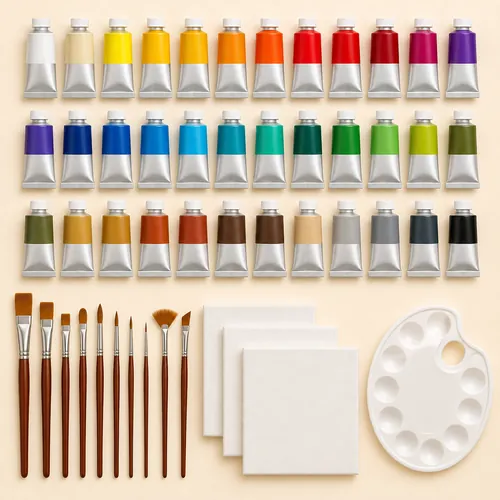
50 pack acrylic paint set, 36 colours
£16.99
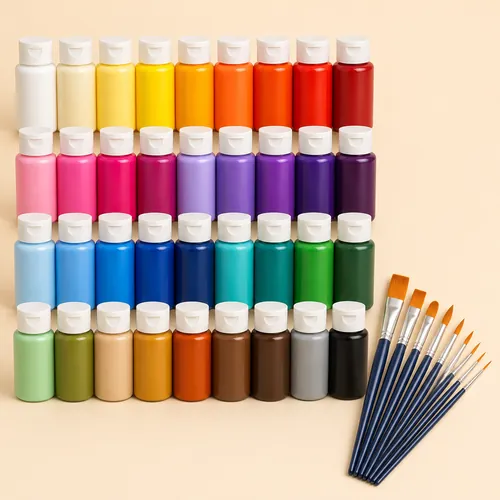
Acrylic paint set, 36 colours, 10 brushes
£23.99
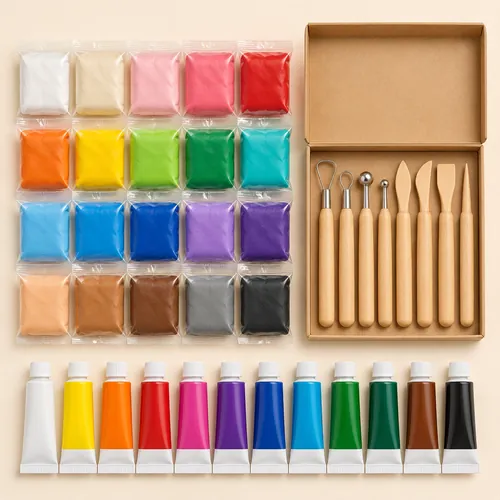
Air dry clay starter bundle
£36.99 £39.97 separately
The ARTKUNST set has a satin finish and the Artecho set a gloss finish, and both name clay among their surfaces. The air dry clay starter bundle puts the 36-colour clay, the tool kit and the ARTKUNST paints in one order for less than the three bought separately.
What air dry clay ideas work for children?
Children do well with mini animals, magnets, beads, handprint keepsakes and ornaments, with an adult at the table. Because coloured clay needs no painting, a piece is finished as soon as it is shaped, which suits short attention spans. Read the safety label on the clay first, keep small pieces and tools away from younger brothers and sisters, and wash hands afterwards.
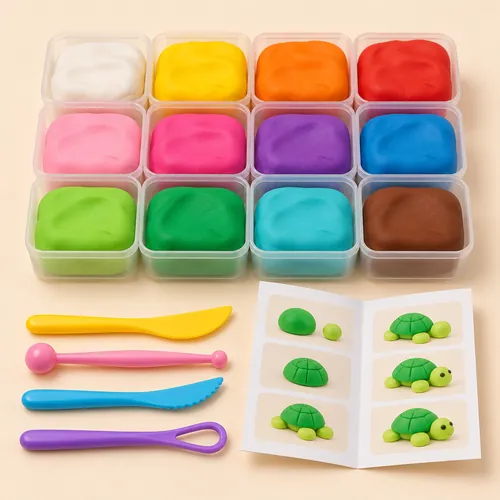
The Aestd-ST animal kit has 12 boxes of clay with 4 colours in each, 4 sculpting tools and a tutorial, with illustrated guide cards for 12 animals, and is listed for ages 3 and up. The iFergoo 36-colour set is listed for ages 3 and up too, and the maker says it dries completely in 24 hours and cannot be baked. There are more ideas in our craft kits for kids.
Clay kits for children
What to make next
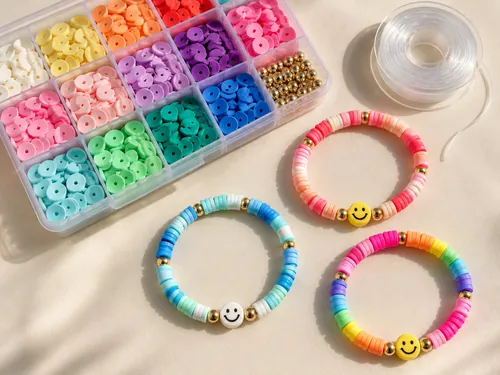
Once you can roll an even slab, the same skills make Christmas decorations (see Christmas crafts for adults), and painting clay is good practice for rock painting. If it is bracelets you are after, the bright flat beads in most kits are polymer clay rather than air dry clay: our clay bead bracelet ideas cover those. Everything clay is in the clay aisle.
Questions
How long does air dry clay take to dry?
Thin pieces around 5mm thick often feel dry within a day, while thicker pieces can take several days. The iFergoo 36-colour set says it dries completely in 24 hours. Follow the time on your pack, and wait until the piece no longer feels cool to the touch before you paint it.
Is air dry clay waterproof?
No. Even when sealed, air dry clay softens if it stays wet. Varnish helps it shrug off dust and the odd splash, but don't use it for vases that hold water, pots with real soil, anything left outdoors, or anything for food or drink.
Can you bake air dry clay to dry it faster?
No. Air dry clay is made to harden in the air, and the iFergoo 36-colour set says it cannot be baked in the oven. Drying it on a radiator also tends to cause cracks, so let it dry slowly at room temperature.
What can I use to seal air dry clay?
A water-based acrylic varnish in matt, satin or gloss is the usual choice. Watered-down PVA glue gives a lighter seal, and the Scola terracotta clay listing says it can be coated with PVA. Apply thin coats and follow the label on the sealer.
Can you paint air dry clay?
Yes, once it is completely dry. Acrylic paint covers it well, and two thin coats look smoother than one thick coat. Let the paint dry fully, then seal over it with varnish to protect it from scuffs and dust.
How do you stick air dry clay pieces together?
While the clay is still soft, score both surfaces with criss-cross lines, add a little slip made from clay and water, press them together and smooth over the join. Once pieces are dry, use a craft glue and follow its label.